Course 1: MIFY Fundamentals — Chapter 3
Chapter 3: Adding AI to Your Workflow
Section titled “Chapter 3: Adding AI to Your Workflow”Let’s connect to real AI services and understand provider options.
What You’ll Learn
Section titled “What You’ll Learn”- How to connect AI providers (OpenAI, Ollama, etc.)
- How to choose between Fast, Balanced, and Accurate modes
- How to generate images and text
AI Providers in MIFY
Section titled “AI Providers in MIFY”MIFY connects to 108+ AI services. The main options:
| Provider | Cost | Setup | Best For |
|---|---|---|---|
| Ollama (local) | Free | Install Ollama, pull a model | Privacy, no API key needed |
| OpenAI | Pay per use | Add API key in Settings | GPT-4o, DALL-E |
| Anthropic | Pay per use | Add API key | Claude models |
| Google Gemini | Free tier available | Add API key | Gemini models |
| Cloudflare Workers AI | Free tier | Cloudflare account | Edge AI |
Setting Up a Provider
Section titled “Setting Up a Provider”- Go to Settings (gear icon in the top right)
- Navigate to Credentials
- Click Add Credential
- Select your provider (e.g., OpenAI)
- Enter your API key
- Click Save
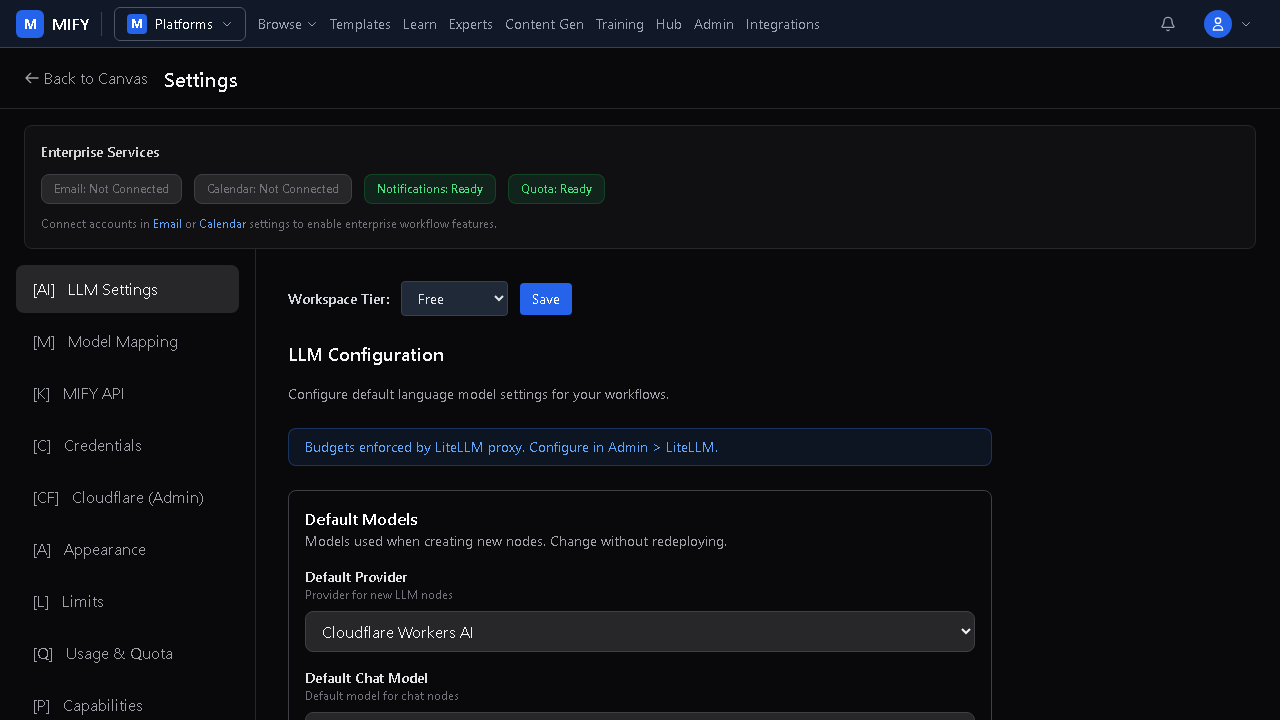
Your key is encrypted and stored securely. You can use it in any workflow.
Provider Tiers
Section titled “Provider Tiers”When running a workflow, you can choose a quality tier:
| Tier | Speed | Cost | Quality |
|---|---|---|---|
| Fast | Fastest | Lowest | Good for drafts and prototypes |
| Balanced | Medium | Medium | Good for most tasks |
| Accurate | Slowest | Highest | Best for production quality |
Text Generation
Section titled “Text Generation”Use the Chat node:
- Drag a Chat node onto the canvas
- Set the provider and model
- Write a system prompt (instructions for the AI)
- Connect to a trigger
- Run — type your question and see the AI respond
Image Generation
Section titled “Image Generation”Use the Content Generation page at /content-gen:
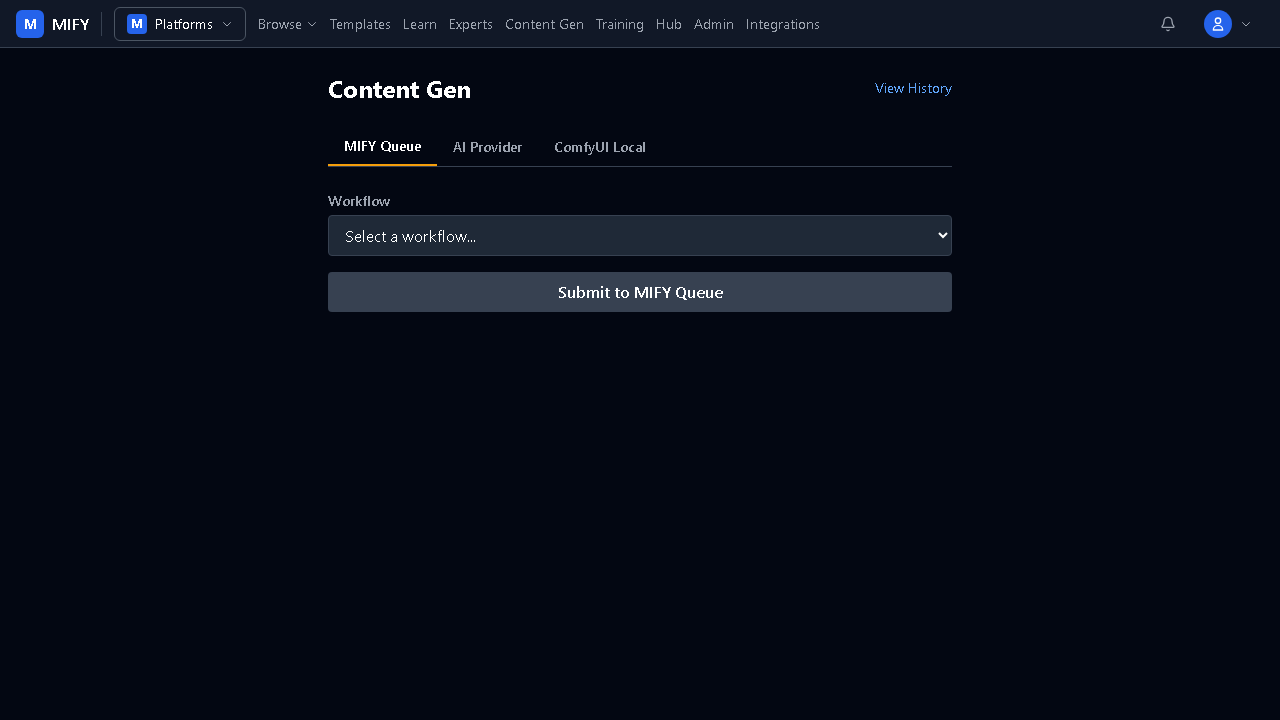
- Browse available image generation workflows
- Adjust parameters (style, size, quality)
- Click Generate
- View results in your history
Exercise
Section titled “Exercise”- Set up Ollama (free, local): install from ollama.com, run
ollama pull phi3:mini - Build a workflow: Manual Trigger → Chat (using Ollama / phi3:mini)
- Run it and have a conversation
- Try the same workflow with a different model
- Go to
/content-genand try generating an image
Key Takeaways
Section titled “Key Takeaways”- Multiple AI providers available — from free local to paid cloud
- API keys are encrypted and manageable in Settings
- Provider tiers let you trade off speed vs quality
- Content generation has its own dedicated page
Previous: Chapter 2 — Nodes and Connections | Next: Chapter 4 — Human Approval Gates