Course 1: MIFY Fundamentals — Chapter 2
Chapter 2: Understanding Nodes and Connections
Section titled “Chapter 2: Understanding Nodes and Connections”Now that you’ve run a template, let’s understand how workflows are built.
What You’ll Learn
Section titled “What You’ll Learn”- What nodes are and what they do
- How to connect nodes
- How data flows through a workflow
What is a Node?
Section titled “What is a Node?”A node is one step in your workflow. Each node does something specific:
| Node Type | What It Does | Example |
|---|---|---|
| Trigger | Starts the workflow | Manual (click Run), Webhook (incoming HTTP), Schedule (cron) |
| AI / LLM | Calls an AI model | Chat (ask a question), Embed (create embeddings), Image (generate an image) |
| Transform | Changes data | Template (format text), JavaScript (custom logic) |
| Logic | Makes decisions | Route If (if/else), Route Switch (multi-branch), Loop Map (iterate) |
| RAG | Works with documents | Ingest (load docs), Retrieve (search), Rerank (sort results) |
| Platform | Connects to other tools | Dify, Flowise, Langflow, n8n, and 20+ more |
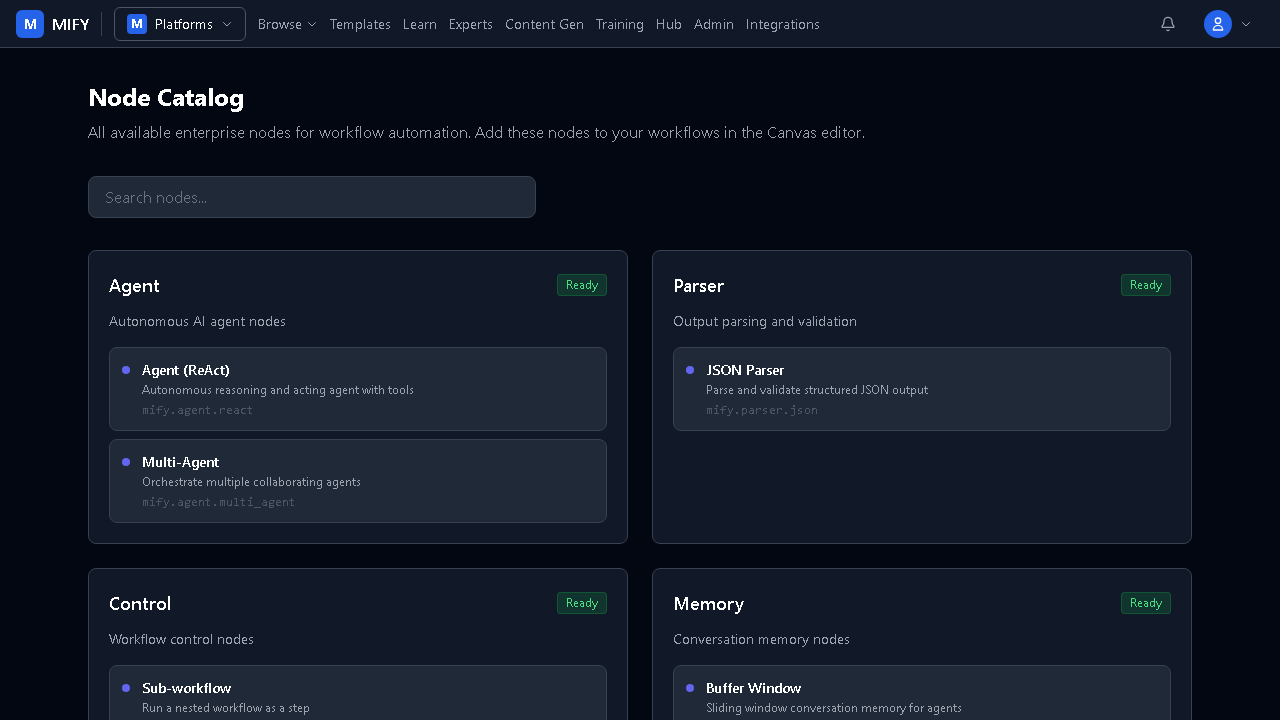
MIFY has 117 nodes across 24 categories. Browse them all at /nodes:
How Connections Work
Section titled “How Connections Work”Connections are lines between nodes. They define data flow — the output of one node becomes the input of the next.
Trigger → Chat Node → Template Node → OutputRules:
- Data flows in one direction (left to right, or top to bottom)
- No loops allowed (this is called a DAG — directed acyclic graph)
- One node’s output can connect to multiple nodes (fan-out)
- Multiple nodes can connect to one node (fan-in / join)
Building a Simple Workflow
Section titled “Building a Simple Workflow”- Open Canvas — click Canvas in the navigation
- Add a Trigger — drag “Manual” from the Triggers section in the left panel
- Add a Chat node — drag “Chat” from the AI/LLM section
- Connect them — click the output handle (right side) of the Trigger and drag to the input handle (left side) of the Chat node
- Configure the Chat node — click the node and set:
- Provider: Ollama (if installed) or your AI provider
- Model: Choose a model
- System Prompt: “You are a helpful assistant”
- Run — click the green Run button
Exercise
Section titled “Exercise”- Build a 3-node workflow: Manual Trigger → Chat → Template
- Configure the Chat node to answer questions
- Configure the Template node to format the response as HTML
- Run it and check the output of each node
Key Takeaways
Section titled “Key Takeaways”- Nodes are the building blocks — each does one thing well
- Connections define the order of execution and data flow
- You configure each node by clicking it
- The canvas shows the full picture of your workflow
Previous: Chapter 1 — Your First Workflow | Next: Chapter 3 — Adding AI to Your Workflow